Joint Compound Wall Texture: How to Texture Walls With Mud
To texture walls with joint compound, thin all-purpose drywall mud to a pancake-batter consistency, roll or trowel it on, and shape it with a brush, sponge or knife before it sets. DIY cost is $0.20–0.60 per sq ft; sand, stomp and skip trowel are easiest.
Part of our guide: Wall Treatments Guide: 14 Wall Finishes & Covering Ideas
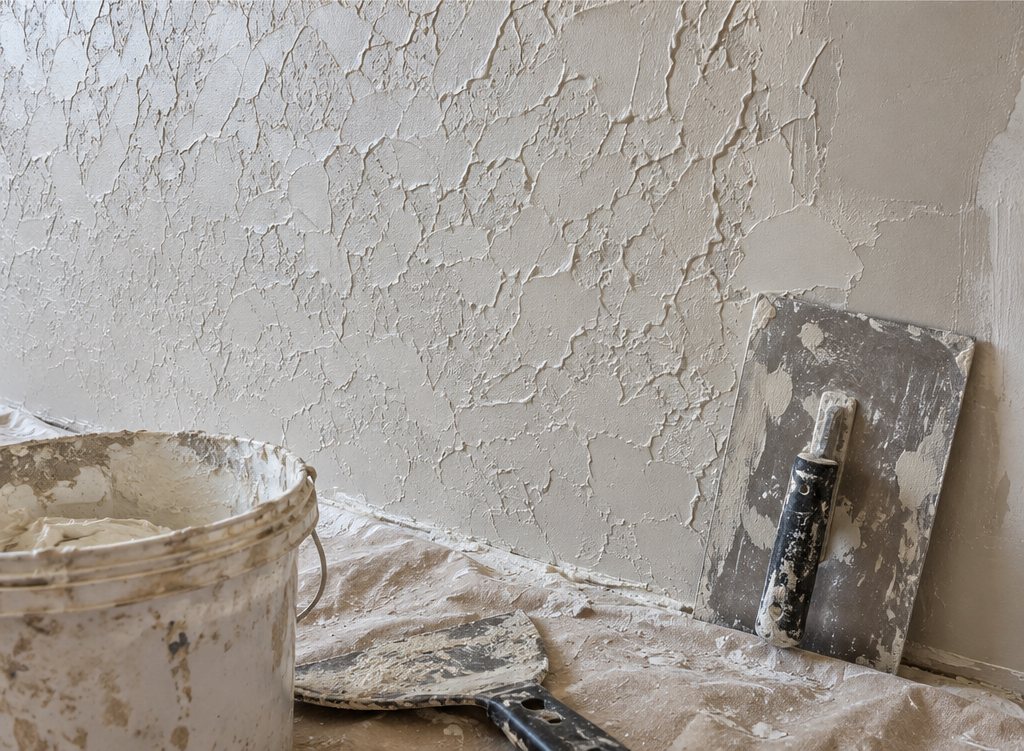
Key takeaways
- Use premixed all-purpose or lightweight joint compound thinned with 1–2 cups of water per gallon to a pancake-batter consistency
- DIY wall texture costs $0.20–0.60 per sq ft in materials; a contractor charges $1–3 per sq ft sprayed or $2–5 hand-applied
- Sand, roller, stomp and sponge are the easiest textures; skip trowel is the best decorative result for a moderate skill level
- Work in 4 × 4 ft sections, shape within 5–15 minutes, and inspect under a raking work light before the mud skins over
- Prime first, dry 12–24 hours, then paint flat or matte; sheen exaggerates every peak
You texture walls with joint compound by thinning all-purpose drywall mud with water to a pancake-batter consistency, applying it with a roller or trowel, and shaping it with a brush, sponge, knife or comb before it sets, then priming and painting. A DIY wall texture costs $0.20–0.60 per sq ft in materials, and the easiest hand textures are sand, stomp and skip trowel.
Adding texture to walls has two purposes that call for different techniques: hiding flaws in old textured drywall or patched walls, which wants an even, all-over sprayed or rolled texture, and creating a decorative hand-textured wall, which wants a thin, deliberate, trowel-applied one. This guide covers the materials, the mix, seven hand textures ranked by difficulty, the full procedure and the costs, and it sits in our wall treatments guide next to the catalog of wall texture types.
- Best mud for texture: all-purpose or lightweight all-purpose premixed joint compound; topping compound for the finest finishes.
- Mix ratio: 1–2 cups (250–500 ml) of water per gallon (3.8 L) for roller and trowel textures; thinner for spraying.
- Coverage: a 4.5 gal (17 L) bucket covers 150–250 sq ft of light texture or 80–120 sq ft of heavy texture.
- Working time: 10–20 minutes per section before the mud skins over; longer in cool, humid rooms.
- Drying: 12–24 hours before priming; 48 hours for heavy relief.
Which joint compound is best for wall texture?
Premixed all-purpose joint compound is the best joint compound for wall texture in almost every case: it is cheap, sticks well, stays workable for 15–20 minutes and sands easily. Lightweight all-purpose is easier to lift and spread and shrinks less; topping compound is the smoothest and best for ultra-fine textures but has weaker adhesion; setting-type (powder, 20- to 90-minute) compound is for repairs and base coats, not for texturing, because it hardens on a clock whether you are finished or not.
| Compound | Form | Working time | Shrinkage | Adhesion | Best for | Cost per 4.5 gal |
|---|---|---|---|---|---|---|
| All-purpose | Premixed | 15–20 min open | Moderate | Strong | Every roller, trowel and brush texture | $15–22 |
| Lightweight all-purpose | Premixed | 15–20 min open | Low | Good | Ceilings, large walls, easier sanding | $16–24 |
| Topping | Premixed | 20 min open | Low | Weaker | Fine skip trowel, final skim over texture | $16–24 |
| Setting-type (hot mud) | Powder, 20/45/90 min | Hardens on schedule | Very low | Very strong | Patches and base coats under texture | $12–20 per 18 lb bag |
| Spray texture (bagged) | Powder with aggregate | Varies | Low | Good | Hopper-gun orange peel, knockdown, popcorn | $15–30 per 40 lb bag |
| Aerosol texture can | Spray can | Instant | None | Good | Patch matching, 4–8 sq ft per can | $12–25 per can |
Avoid the temptation to texture with spackle (it is for nail holes, dries too fast and does not spread), with plaster of paris (same problem, harder) or with paint thickened with sand, which gives a weak, gritty surface that cannot be re-skimmed. Dedicated texture paints and "sand finish" additives exist for very light sand textures and are fine for that one purpose.
How do you mix joint compound for texturing?
Mix joint compound for texturing by adding water a cup at a time and blending with a paddle mixer on a drill at low speed until the mud is smooth, lump-free and the consistency of thick pancake batter: it should hold a soft peak on the paddle for a moment and then slump. That is roughly 1–2 cups (250–500 ml) of water per gallon (3.8 L) for roller and trowel work. For hopper spraying, thin further to a heavy-cream consistency, about 3–4 cups (750 ml–1 L) per gallon.
Consistency controls the texture more than any tool. Thick mud makes high, sharp peaks that are hard to knock down and crack as they dry; thin mud makes low, soft relief and a lightly textured wall. Mix the whole batch for a wall at once, since two batches never match. For sand textures, stir in 1–2 cups of fine silica sand per gallon. Let mixed compound rest 10 minutes and remix before use to let air bubbles escape, which prevents pinholes.
What tools do you need to texture a wall?
For hand textures you need a mud pan, a 6 in (15 cm) and a 12 in (30 cm) taping knife, a 3/4 in nap roller and frame, a paddle mixer, plastic sheeting, painter's tape and the shaping tool for your pattern: a stiff round texture brush for stomp, a curved trowel for skip trowel, a notched trowel for comb, a sea sponge for sponge textures, or an 18–24 in (45–60 cm) knockdown knife. Sprayed textures add a hopper gun ($30–60 to buy, $25–40 a day to rent) and a compressor delivering at least 2.5 cfm at 40 psi.
A bright, portable work light is the tool first-timers skip and professionals never do: set it on the floor shining up across the wall at a low angle and every ridge, lap mark and bald spot shows while the mud is still wet enough to fix. Add a respirator for sanding, a bucket of clean water for tools and a few scrap pieces of drywall or a 2 × 2 ft (60 × 60 cm) primed board for practice.
What are the easiest wall textures to apply with joint compound?
The easiest wall textures to apply by hand are sand texture, roller texture, stomp (slap brush) and sponge, which need no special skill and are forgiving of inconsistency; skip trowel and knockdown are moderate; comb and Spanish lace take practice. Easy wall texture does not mean coarse; a thin sand or skip trowel finish is both easy and refined.
| Texture | Tool | DIY difficulty | Mud consistency | Relief | Modern look? |
|---|---|---|---|---|---|
| Sand texture | Roller, with sand mixed in | Easy | Batter plus 1–2 cups sand | Very low | Yes |
| Roller texture | Thick-nap roller only | Easy | Batter | Low to medium | Fine if light |
| Stomp / slap brush | Round or oval stiff brush | Easy | Thin batter | Medium to high | No; ceilings only |
| Sponge | Sea sponge, dabbed | Easy | Batter | Low | Yes, in one color |
| Skip trowel | Curved pool trowel | Moderate | Thin batter | Low to medium | Yes |
| Knockdown (hand) | Roller or brush, then knife | Moderate | Batter | Medium | Only if fine |
| Comb / stria | Notched trowel or comb | Moderate to hard | Thick batter | Medium | Yes, on one wall |
| Spanish lace | Hopper and knife, two tones | Hard | Thin spray | High | No |
Sand and roller textures
Sand texture is the quiet workhorse: mud with fine sand rolled on in one even coat gives the surface of an old plastered wall and hides small flaws without reading as texture at all. Roller texture, mud rolled on with a 3/4 in or 1-1/4 in nap and left, gives soft stipple; roll a second pass lightly 10 minutes later to knock the sharp peaks back.
Skip trowel
Skip trowel is the best way to texture a wall for a decorative result: hold a curved 12–14 in trowel at a 15–20 degree angle, load a thin smear of mud along its edge and skip it across the wall in short arcs, so it deposits in random patches 30–50 percent of the surface. Let it set 10 minutes, then flatten any high ridges with a clean knife. Thin mud and a light touch make it look like lime plaster; thick mud and heavy coverage make it look like a 1990s tract house.
Knockdown by hand
Hand knockdown without a sprayer: roll or stomp thin mud on, wait until it loses its wet shine (10–15 minutes), then drag a clean 18–24 in knockdown knife across at a low angle with almost no pressure, wiping the blade every pass. Too soon and it smears; too late and the peaks chip. A fine hand knockdown reads much better than the sprayed version.
How do you texture walls with drywall compound step by step?
Texturing walls with drywall compound follows the same nine steps for every pattern: prepare and prime, mix, test, apply in sections, shape, inspect, dry, prime and paint. Allow a full day per room plus drying time.
- Repair and prime the wall. Fill holes with setting compound, sand ridges, and prime bare drywall or glossy paint with a drywall primer. Texture bonds poorly to unprimed paper, dust and gloss.
- Mask everything. Plastic over floors, tape at ceiling lines and trim, outlet covers off. Hand textures splatter less than spraying, but mud finds its way everywhere.
- Mix one batch for the whole wall. Thin to batter consistency as described above, rest 10 minutes, remix. Note the amount of water used so a second wall matches.
- Make a test panel. Apply the texture to a primed 2 × 2 ft board, let it dry, prime and paint it in the intended color and sheen. Decide with the board held against the wall in daylight and lamplight. This step is where most people discover the mud is too thick.
- Apply in 4 × 4 ft (1.2 × 1.2 m) sections. Roll or trowel the mud onto the first section, working from a top corner down and across, keeping the edge of the section ragged rather than straight so the next section blends.
- Shape before it skins. Within 5–15 minutes, stomp, skip, sponge, comb or knock down the section. Keep tools clean; a brush loaded with dried mud leaves lumps. Overlap the shaping slightly into the previous section.
- Check under raking light. With the work light on the floor, look for bald spots, heavy clumps and straight seams between sections and fix them while the mud is wet. A bald spot gets a dab and a re-stomp; a clump gets flattened with the knife.
- Dry 12–24 hours. Heavy relief or humid rooms need 48 hours. Keep the room ventilated but not heated; forced drying cracks thick mud.
- Prime and paint. Roll on a drywall primer with a 3/4 in nap roller to reach into the relief, then two coats of flat or matte paint. Sheen exaggerates every peak, which the paint sheen guide explains; size the primer and paint with the paint calculator, adding 20–30 percent for texture.
How do you match an existing wall texture when patching?
Match an existing texture by identifying the pattern, repairing the patch flush and slightly below the surrounding surface, then re-creating the texture over the patch and 6–12 in (15–30 cm) beyond it so the edges feather into the old wall. Sprayed orange peel and knockdown are easiest to match with an aerosol texture can, adjusting the nozzle and distance on cardboard first. Hand textures are matched with the same tool and mud consistency the original plasterer used, which takes trial on scrap.
Two tricks help. First, knock the patch down a hair lower than the old surface before texturing, because new texture always adds height. Second, after the patch dries, prime the whole wall rather than spot-priming, and repaint corner to corner in a flat sheen; the eye forgives a slightly different pattern far more than a shiny rectangle. Where the old texture is damaged across a whole wall or you simply want it gone, the alternative is to skim the entire surface smooth, covered in how to smooth textured walls.
How much does it cost to texture walls?
It costs $0.20–0.60 per sq ft in materials to texture walls yourself, about $40–120 for a 12 × 14 ft bedroom, and $1–3 per sq ft for a drywall contractor to spray or $2–5 per sq ft to hand-texture, or $400–2,000 for the same room including primer. Ceilings add 30–50 percent to labor because of the overhead work.
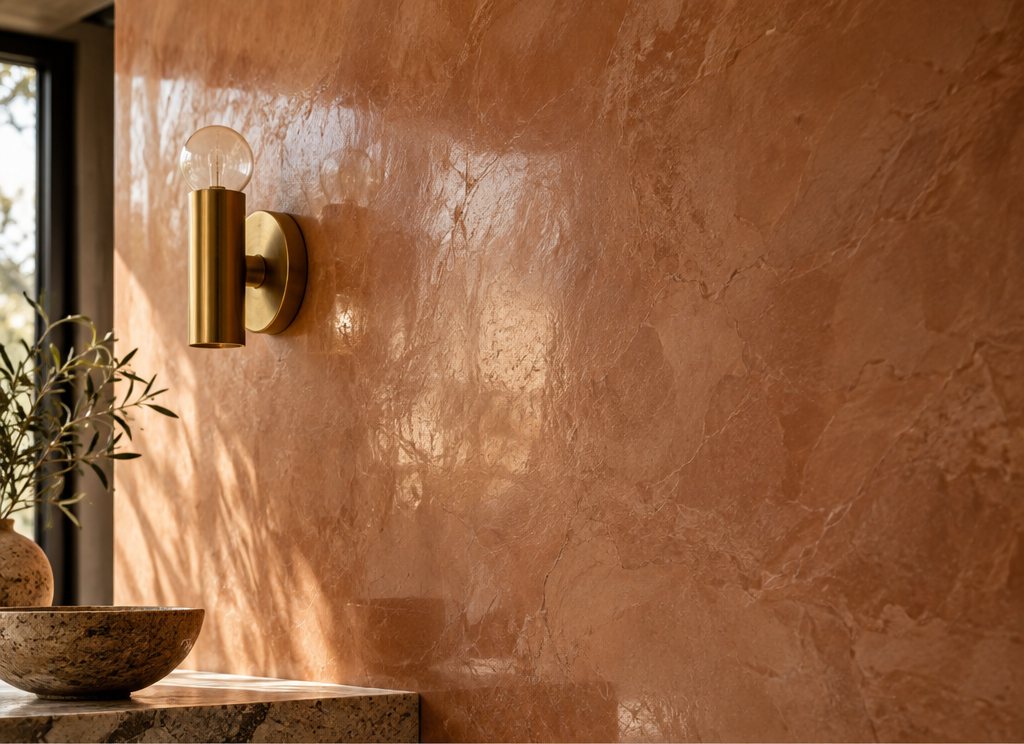
A DIY bedroom budget looks like this: two 4.5 gallon buckets of lightweight all-purpose compound ($35–45), a gallon of drywall primer ($25–40), a texture brush or curved trowel ($15–30), roller, pan and plastic ($20–30), and paint. If you spray, add $25–40 for a day's hopper rental and a compressor if you do not own one. The tools are reusable, so a second room costs only mud, primer and paint. Compared with decorative plaster finishes at $3–25 per sq ft from the plaster walls guide, a fine skip trowel in joint compound delivers much of the look for a tenth of the price, which is why it remains the DIY route to a venetian plaster effect when budgets are tight.
When should you texture walls and when should you leave them smooth?
Texture walls when you need to hide poor drywall or patch history cheaply, when you want a deliberate hand-made surface on a feature wall, or when a ceiling is too flawed to skim; leave them smooth when the house is modern, when the room is a kitchen or bathroom, when you plan to wallpaper or apply plaster later, and when the wall is in good condition. In a 2027 renovation the default is smooth, with texture used sparingly and lightly.
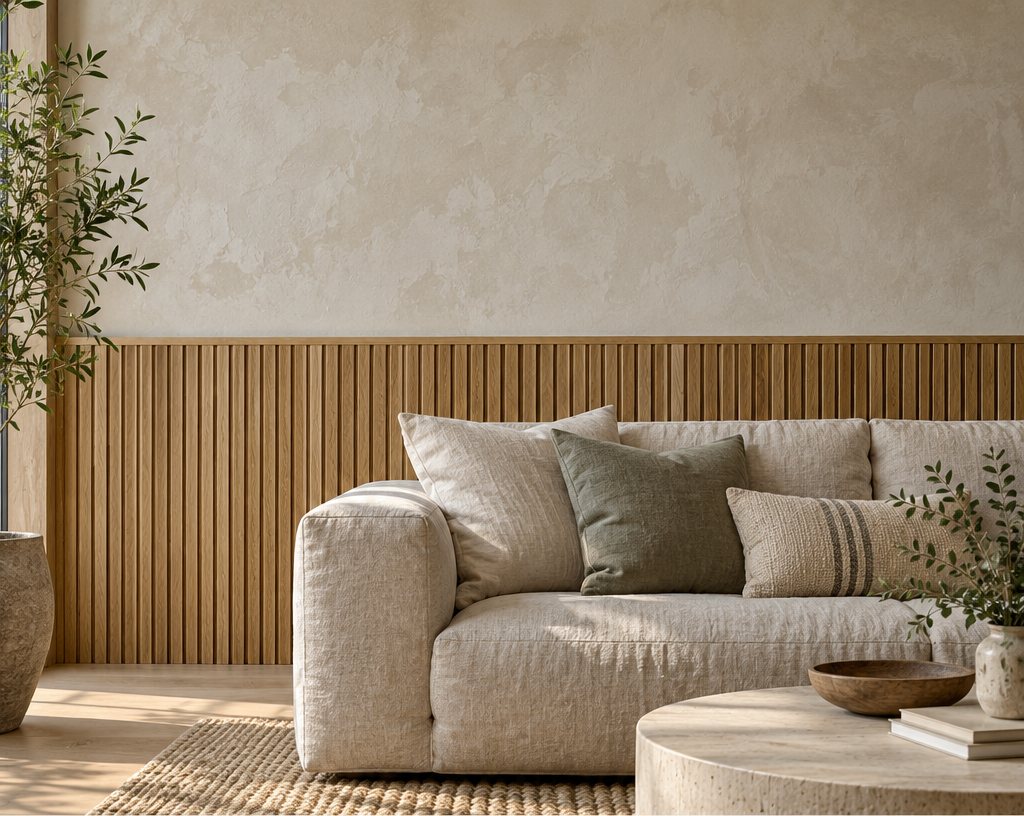
The textures that survive contact with current taste are the thin ones: sand, light roller, fine skip trowel, a sponge finish in one soft color. They flatter low-saturation paint, side light and natural materials, and pair with a wood accent wall or a slat panel on the opposite side of the room without competing. Heavy stomp, Spanish lace and coarse knockdown should stay on ceilings in rustic houses, or not be applied at all. If you texture, texture lightly; the walls will be easier to patch, easier to repaint and easier to smooth if the next owner, or you, change your mind.
Free toolWallpaper CalculatorHow many rolls you need, allowing for the pattern repeat.Frequently asked questions
Can you use regular joint compound to texture walls?
Yes. Premixed all-purpose joint compound is the standard material for hand-applied wall textures and, thinned further, for hopper-sprayed orange peel and knockdown. Lightweight all-purpose is easier to work and sands more easily; topping compound suits very fine finishes. Avoid setting-type powder compound for texturing, since it hardens on a timer, and avoid spackle, which dries too fast to shape.
How do you thin joint compound for texture?
Add water a cup at a time, about 1–2 cups (250–500 ml) per gallon (3.8 L) of premixed compound, and blend with a paddle mixer on a drill at low speed until smooth and lump-free. The right consistency for rolling and troweling is thick pancake batter that briefly holds a soft peak; for a hopper gun thin it further to heavy cream, roughly 3–4 cups per gallon.
What is the easiest way to texture a wall?
A sand texture or a roller texture is the easiest: roll thinned joint compound onto the wall with a 3/4 in nap roller in one even coat, with fine sand mixed in for a sand finish, and let it dry. Stomp (slap brush) is nearly as easy and hides more but suits ceilings rather than walls. For a decorative wall, skip trowel is the easiest texture that looks intentionally designed.
How long does joint compound texture take to dry?
Light textures dry in 12–24 hours at normal room temperature and humidity; heavy relief, thick knockdown and textures in cool or humid rooms need 48 hours. The mud should be uniformly white, not gray in the valleys, before you prime. Ventilate the room but do not blast it with heat, which cracks thick compound as it shrinks.
Do you have to prime before texturing walls?
Yes, on bare drywall and on glossy or dark painted walls. Primer seals the paper face so the compound dries evenly, gives a uniform surface so the texture does not flash, and improves adhesion on painted surfaces. Previously painted matte walls in good condition can usually be textured directly after cleaning and a light scuff sand, but priming is cheap insurance.
How much does it cost to texture walls?
DIY materials cost $0.20–0.60 per sq ft, about $40–120 for a typical bedroom, plus $25–40 for a hopper rental if spraying. A drywall contractor charges $1–3 per sq ft for sprayed orange peel or knockdown and $2–5 per sq ft for hand textures such as skip trowel, so a bedroom runs $400–2,000 including primer. Ceilings add 30–50 percent for the overhead labor.
Is textured drywall still in style?
Heavy sprayed textures are not; smooth walls are the modern standard and buyers often budget to remove orange peel and knockdown. Fine hand textures are different: a thin skip trowel, sand or sponge finish in a soft mineral color reads as plaster and suits warm minimalist and organic modern rooms. If you add texture in 2027, keep it thin, keep the paint matte and keep it to walls where side light will show it well.
Some links may be affiliate links. Regulations and specifications change — always confirm with suppliers and qualified professionals.