How to Smooth Textured Walls: Skim Coat, Cost & 4 Removal Methods
Smooth textured walls with a skim coat: 2–3 thin layers of joint compound troweled over the texture, sanded and primed, at $1–5 per sq ft professionally or about $0.30 per sq ft in DIY materials. Scraping suits unpainted popcorn; new drywall suits heavy relief.
Part of our guide: Wall Treatments Guide: 14 Wall Finishes & Covering Ideas
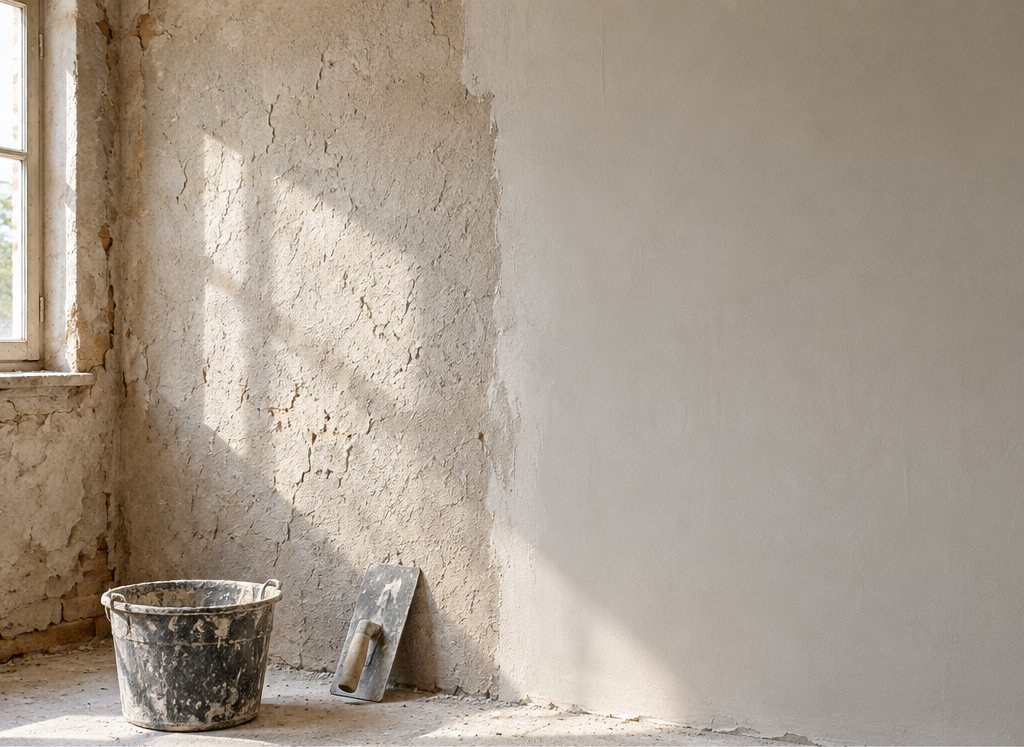
Key takeaways
- Skim coating is the best way to smooth textured walls: 2–3 thin coats of joint compound, sanded, at $1–5 per sq ft professionally or about $0.30 per sq ft DIY
- Scraping only works on unpainted sprayed texture; sanding alone flattens light orange peel but leaves a mottled wall
- Test any texture applied before the mid-1980s for asbestos before scraping or sanding
- Thin the compound, use a 12–14 in knife, and alternate stroke direction between coats to avoid waves
- Wet-sponging a dry skim coat removes ridges without dust, and a 1/4 in drywall overlay is the clean fix for heavy relief
To smooth textured walls, skim coat them: apply two or three thin layers of joint compound over the existing texture with a wide knife, sand lightly between coats, then prime and paint. A professional skim coat costs $1–3 per sq ft for orange peel and $2–5 for heavier relief; DIY materials run about $0.30 per sq ft. Scraping suits unpainted popcorn only.
The question of textured walls vs smooth walls has a clear answer in current design: smooth wins in nearly every room, which is why "how to get rid of textured walls" is one of the most-searched renovation queries. This guide compares the four methods, gives the full skim coat procedure, and covers what to do when you cannot sand. It belongs to our wall treatments guide, alongside the catalog of wall texture types you may be trying to remove.
- Best method for most walls: skim coat with all-purpose or topping joint compound, 2–3 coats.
- Professional cost: $1–5 per sq ft, or $1,000–3,500 for a typical 12 × 14 ft room including ceiling.
- DIY cost: $60–150 per room in compound, primer, knives and sanding supplies.
- Time: 2–3 days per room DIY, allowing for drying; 1–2 days for a crew.
- Asbestos warning: test any texture applied before the mid-1980s before scraping or sanding.
Why are walls textured in the first place?
Walls are textured because texture hides the seams, screw dimples and slight waves in drywall far more cheaply than finishing the board perfectly smooth. A sprayed orange peel takes a crew an hour per room; a true smooth finish, known in the trade as level 5, requires a full skim coat over every square inch and careful sanding, adding $2–4 per sq ft. From the 1970s onward, builders in most of the United States chose the texture, and regional habits followed: knockdown and orange peel in the West and South, smooth in the Northeast where plaster traditions persisted.
Texture also disguises future damage. Scuffs, nail pops and patch jobs vanish into a bumpy wall and stand out on a smooth one. That is the honest case for keeping texture in a rental or a busy family hallway. It is also why "how to fix textured walls" usually means one of two opposite things: patching a damaged texture so it matches, or removing it altogether.
Smooth vs textured walls: which is better?
Smooth walls are better for most modern interiors because they reflect light evenly, take any paint sheen, show off trim and furniture, and photograph cleanly; textured walls are better at hiding imperfections, cost less to finish on new construction and are more forgiving of wear. In a 2027 renovation, smooth is the default unless the house is explicitly Southwestern or Mediterranean in style.
| Factor | Smooth walls | Textured walls |
|---|---|---|
| Appearance | Clean, contemporary, architectural | Builder-grade unless hand-applied and fine |
| Finishing cost on new drywall | $2–4 per sq ft (level 5) | $1–3 per sq ft (sprayed) |
| Hides drywall flaws | No; requires excellent board work | Yes |
| Paint sheen options | Any, including satin and gloss | Flat or matte only; sheen highlights bumps |
| Touch-ups and patches | Need feathered skim and sanding | Blend easily if texture is matched |
| Cleaning | Wipes clean | Traps dust; scrubbing abrades peaks |
| Wallpaper and plaster finishes | Ready for them | Must be smoothed first |
| Resale perception | Premium, custom | Dated in most markets |
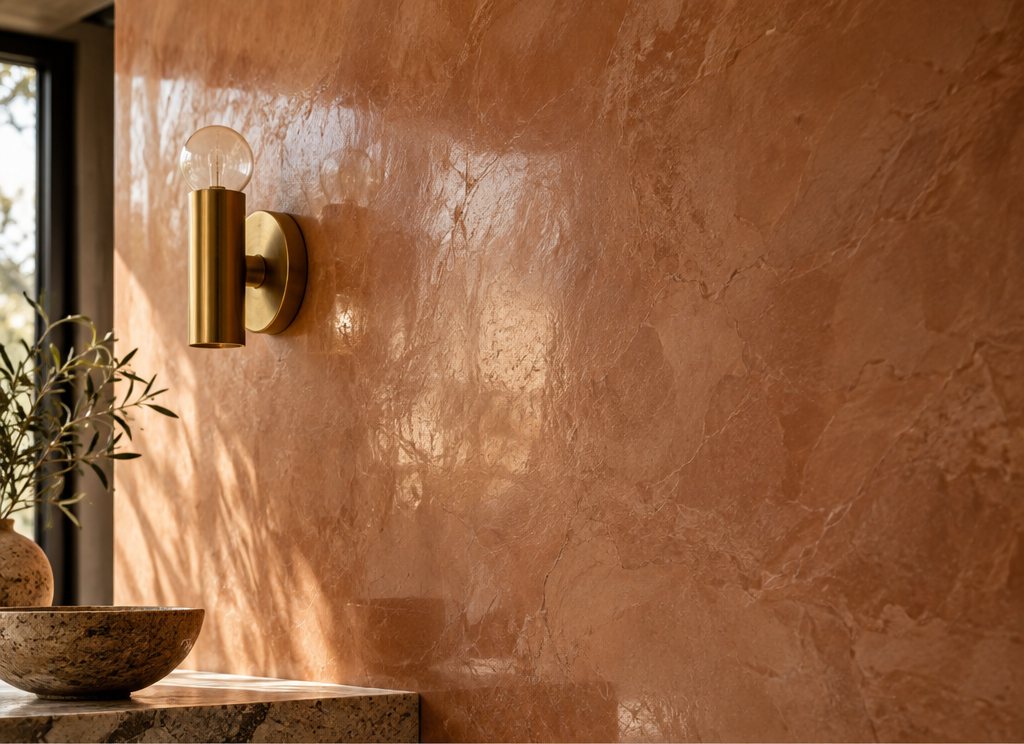
There is a middle path. Light orange peel under a flat paint is barely visible and acceptable in hallways and secondary bedrooms, so a sensible renovation often smooths the living spaces and leaves the rest. And a wall smoothed with a skim coat can later carry lime wash, roman clay or venetian plaster, which need a flat substrate.
What are the ways to get rid of textured walls?
There are four ways to get rid of textured walls: skim coating over the texture, scraping it off wet, sanding it flat, or replacing the drywall. Skim coating is the best way to get rid of textured walls in almost every case; the others suit specific textures or situations.
| Method | Works on | Pro cost per sq ft | DIY difficulty | Mess | Result |
|---|---|---|---|---|---|
| Skim coat | Orange peel, knockdown, light hand textures, painted popcorn | $1–5 | Moderate | Dust at sanding stage | Level-5 smooth |
| Wet scrape | Unpainted popcorn, unpainted sprayed texture | $1–3 plus skim | Easy but laborious | Very wet, heavy | Needs a skim coat after |
| Sanding only | Very light orange peel, sand texture | $0.75–1.50 | Easy | Fine dust everywhere | Flattened, not truly smooth |
| New drywall overlay (1/4 in) | Heavy relief, damaged walls | $2–4 | Hard | Moderate | Perfect; loses 1/4 in (6 mm) |
| Demolish and re-board | Water damage, asbestos, failed plaster | $3–6 | Hard | Major | Perfect; allows rewiring |
Scraping works because unpainted sprayed texture is water-soluble: mist it, wait 15 minutes, and it comes off with a 6 in (15 cm) knife. Once the texture has been painted, water cannot get in and scraping becomes gouging, so painted walls go straight to a skim coat. Sanding is the shortcut everyone wants and the one that disappoints: it flattens the peaks of a light texture but leaves the valleys, and the wall looks mottled under paint. A 1/4 in (6 mm) drywall overlay screwed through the old board into the studs is the clean solution for heavy Spanish lace or crumbling plaster, and it costs no more than a heavy skim.
How do you skim coat textured walls?
Skim coating textured walls means spreading thin coats of joint compound across the whole surface with a 12–14 in (30–36 cm) knife or a trowel, filling the valleys of the texture, then sanding the result flat. Three coats are normal over orange peel; knockdown may need four. The method below is the one that produces a smooth finish drywall surface rather than a wavy one.
- Test, clear and protect. If the texture predates 1985, send a sample for asbestos testing before disturbing it. Move furniture out, mask floors and outlets with plastic, and remove switch plates and trim where possible.
- Knock down the high points. Run a 6 in (15 cm) knife over the wall at a low angle to shear off the sharpest peaks, or give heavy knockdown a quick pass with 80-grit on a pole sander. You are not sanding it smooth, just removing anything that would tear the first coat.
- Prime glossy or painted walls. A coat of PVA drywall primer or a bonding primer gives the compound something to grip; skipping this is why skim coats peel. Let it dry 2–4 hours.
- Mix the compound to a yogurt consistency. Use all-purpose or lightweight all-purpose joint compound for the first coat, thinned with a cup of water per gallon so it flows into the valleys. Topping compound, which sands easier, is for the final coat.
- Apply the first coat with a paint roller and knife. Roll the thinned mud onto a 4 × 4 ft (1.2 × 1.2 m) section with a 3/4 in nap roller, then immediately pull it tight with a 12–14 in knife held at 30 degrees, leaving only enough to fill the texture. Work top to bottom, overlapping strokes. Let it dry 12–24 hours.
- Scrape ridges and apply the second coat at 90 degrees. Knock off any ridges with the knife, then skim again with strokes running perpendicular to the first coat, slightly thicker where the texture still shows. Dry 12–24 hours.
- Apply a thin finish coat with topping compound. Thin it slightly more and apply with the widest knife you can control, feathering every edge. This coat fills pinholes and knife marks only.
- Sand with 150–220 grit. Use a pole sander or a sanding sponge, with a bright work light held close to the wall at a low angle to reveal ridges. Wear a respirator, and if the dust bothers you, use a vacuum-attached sander or the wet-sponge alternative described below.
- Prime, inspect, paint. Apply a high-build or standard drywall primer, then look again under raking light; spot-fill anything you see and sand before paint. Finish with a flat or matte paint, which hides any remaining micro-waves, chosen with the help of the paint sheen guide.
A 12 × 14 ft room with 8 ft ceilings has roughly 400 sq ft of wall. Budget two 4.5 gallon (17 liter) buckets of compound for the walls, three if the ceiling is included, plus a gallon of primer. Use the paint calculator to size the primer and topcoat once the walls are smooth.
How do you smooth textured walls without sanding?
You can smooth textured walls without sanding by wet-sponging the skim coat instead: once each coat is dry, wipe it with a large damp grout sponge in light circles, rinsing often, which melts the ridges and feathers the edges with no dust. The trade-off is that sponging takes longer than sanding and will not fix a genuinely wavy coat, so the knife work has to be clean.
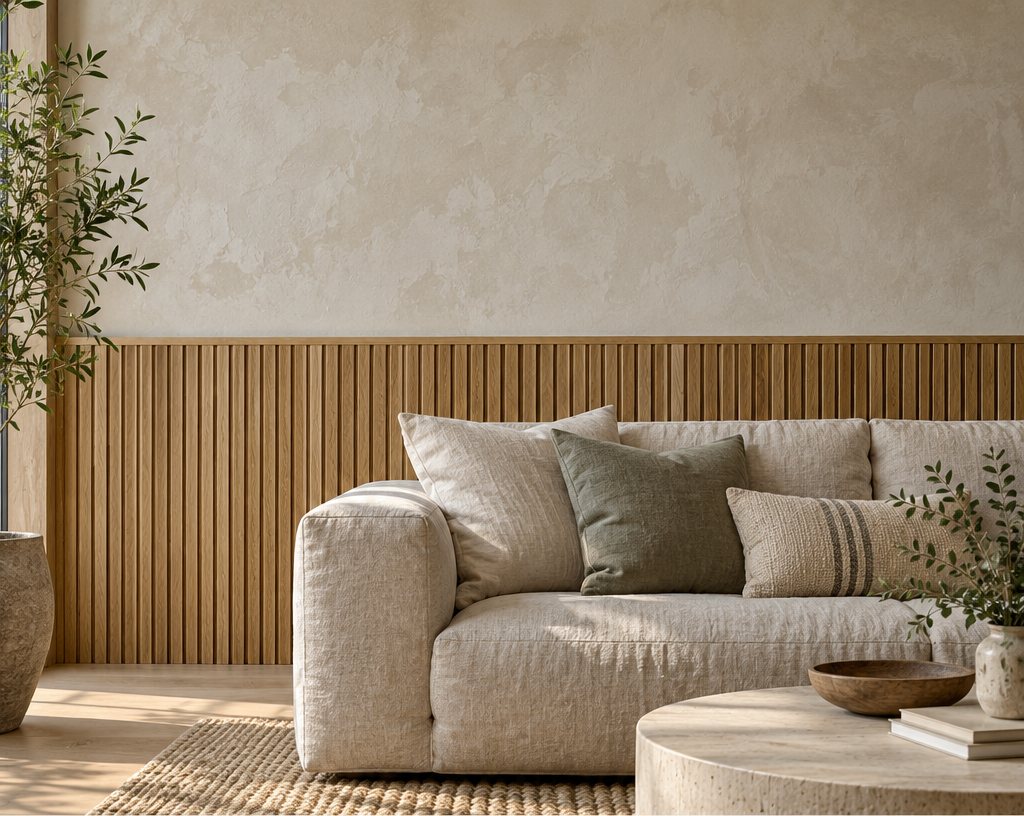
Two other no-sand routes exist. The first is the drywall overlay above: new 1/4 in (6 mm) board over the old surface, with only the new joints to finish. The second is to cover rather than remove, which is where wall paneling, slat panels and board-and-batten earn their place: a slat panel or a framed panel wall goes straight over orange peel and reads as a deliberate feature. For a single bumpy wall in a rental, a thick, matte "wall smoothing paint" or a high-build primer will soften a very light texture, but despite the name no paint can flatten knockdown; expect it to blur, not erase.
How do you fix bumpy or damaged textured walls?
Bumpy walls that are not a uniform texture, with ridges, bulges or patches that do not match, are fixed by finding the cause first: a bad patch is skimmed and feathered, a popped screw is driven in and filled, a bulging seam has its tape cut out and replaced, and a wall that bows is either overlaid or re-boarded. Then the whole wall is skim coated so the repairs vanish.
If the goal is instead to keep the texture and repair a damaged area so it blends, the approach is the reverse of smoothing: fill the damage flush, then re-texture only the patch using a can of aerosol orange peel or knockdown texture, feathering outward, and knock it down to match. Matching an old hand texture is harder; practice on scrap drywall, and accept that a flat paint will hide a slightly different pattern better than any sheen. The techniques for applying each texture are in how to texture walls with joint compound.
How much does it cost to smooth textured walls?
It costs $1–3 per sq ft to have orange peel or light knockdown skim coated by a drywall contractor, $2–5 per sq ft for heavy knockdown, skip trowel or painted popcorn, and $3–6 per sq ft to replace the drywall. A typical 12 × 14 ft bedroom costs $800–2,000 for walls only and $1,200–3,500 with the ceiling; an open-plan living area can run $3,000–8,000. Prices are higher where the ceiling is above 9 ft (2.7 m), where asbestos abatement is needed ($3–7 per sq ft extra), and in metro markets.
DIY materials for the same bedroom are $60–150: two or three buckets of compound at $15–25 each, a gallon of primer at $25–40, knives, a mud pan, sanding sponges and plastic sheeting. The real cost is time, around 12–20 hours of work spread over three days for a first-timer. If the ceiling is popcorn, hire it out; working overhead with wet compound is miserable and slow. Once the walls are smooth, the follow-on decision is a color and sheen, and the neutral paint color guide is a good place to begin.
How do you keep smooth walls looking smooth?
Smooth walls stay smooth when they are painted in flat or matte, lit without harsh grazing light, and touched up with feathered patches rather than blobs of filler. The three habits that matter: keep a labeled quart of the wall color for touch-ups, fill nail holes with lightweight spackle and sand them flush before painting, and fix any new screw pop immediately so it does not telegraph through.
In rooms with long runs of wall under a window, avoid fixtures that wash light down the surface at a shallow angle, since even a perfect level-5 wall shows faint waves under grazing light; that is a lighting layout issue addressed in how to layer lighting. And if you ever want texture back, choose a hand-applied mineral finish such as lime wash or marmorino from the plaster finishes guide, which needs exactly the smooth wall you have just made.
Free toolWallpaper CalculatorHow many rolls you need, allowing for the pattern repeat.Frequently asked questions
Can you just paint over textured walls to make them smooth?
No. Paint, even a thick high-build primer or a product sold as wall smoothing paint, follows the texture rather than filling it, so a painted orange peel wall is still orange peel. High-build primers can soften a very fine sand texture slightly. To make a textured wall smooth you need to fill the valleys with joint compound, which is what a skim coat does.
What is the easiest way to smooth textured walls?
The easiest way is a roll-and-skim coat: roll thinned joint compound onto the wall with a thick-nap roller, pull it tight with a 12–14 in knife, let it dry, repeat twice, then sand or wet-sponge and prime. It needs no special tools beyond a roller, knives and a mud pan, and a first-timer can finish a bedroom in a weekend.
How many coats of joint compound to smooth textured walls?
Three coats is typical over orange peel: a thinned first coat to fill the texture, a second at 90 degrees to level it, and a thin topping coat to fill pinholes. Knockdown and skip trowel often need four. Each coat should be as thin as possible; thick coats crack, take days to dry and are harder to sand flat.
How much does it cost to get rid of textured walls?
A drywall contractor charges $1–3 per sq ft to skim coat orange peel or light knockdown and $2–5 per sq ft for heavy or painted texture, which puts a typical bedroom at $800–2,000 for walls and $1,200–3,500 including the ceiling. Replacing the drywall costs $3–6 per sq ft. DIY materials run $60–150 per room.
Should I remove the texture or skim over it?
Skim over it in almost every case. Removal by scraping only works on unpainted sprayed texture and still leaves a surface that needs a skim coat, so it adds a messy step for no gain. Remove the texture entirely only when it is popcorn that comes off easily, when it contains asbestos and requires abatement, or when the drywall underneath is damaged and should be replaced.
Are textured walls outdated?
Heavy sprayed textures such as knockdown, orange peel and popcorn are considered outdated in most markets, and smoothing them is one of the highest-return cosmetic renovations. Fine hand-applied finishes such as lime wash, roman clay and marmorino are not outdated; they are among the most popular wall treatments for 2027, but they require a smooth substrate, so the old texture still has to go.
Why do new houses have textured walls?
Because texture hides drywall seams and screw dimples far more cheaply than a true smooth finish. A sprayed orange peel takes a crew about an hour per room, while a level-5 smooth finish requires skim coating every wall and adds $2–4 per sq ft. Production builders choose the texture; custom builders and most designers specify smooth.
Some links may be affiliate links. Regulations and specifications change — always confirm with suppliers and qualified professionals.